IPTV setup: 12 Simple Essential Steps for the Ultimate Guide
A calm, repeatable IPTV setup guide that walks you from unboxing to playing your first channel. Learn network, M3U or Xtream logins, EPG and verification with clear checks.

Alistair Vaughn
•
6 min read
•
IPTV setup can feel technical the first time, but a clear sequence of checks and choices gets you watching reliably. This guide walks a new IPTV box owner from unboxing to verified playback, showing what to choose and why each step matters.
In practice, you will learn how to check hardware, pick wired or wireless networking, install apps like IPTV Smarters, add either an M3U playlist or an Xtream Codes login, and confirm EPG and playback. The goal is a repeatable checklist you can follow without guessing.
That’s why each section ends with short verification steps you can perform immediately after completing the action. Throughout, I point out UX and speed tips an independent tester would use to confirm a stable setup.
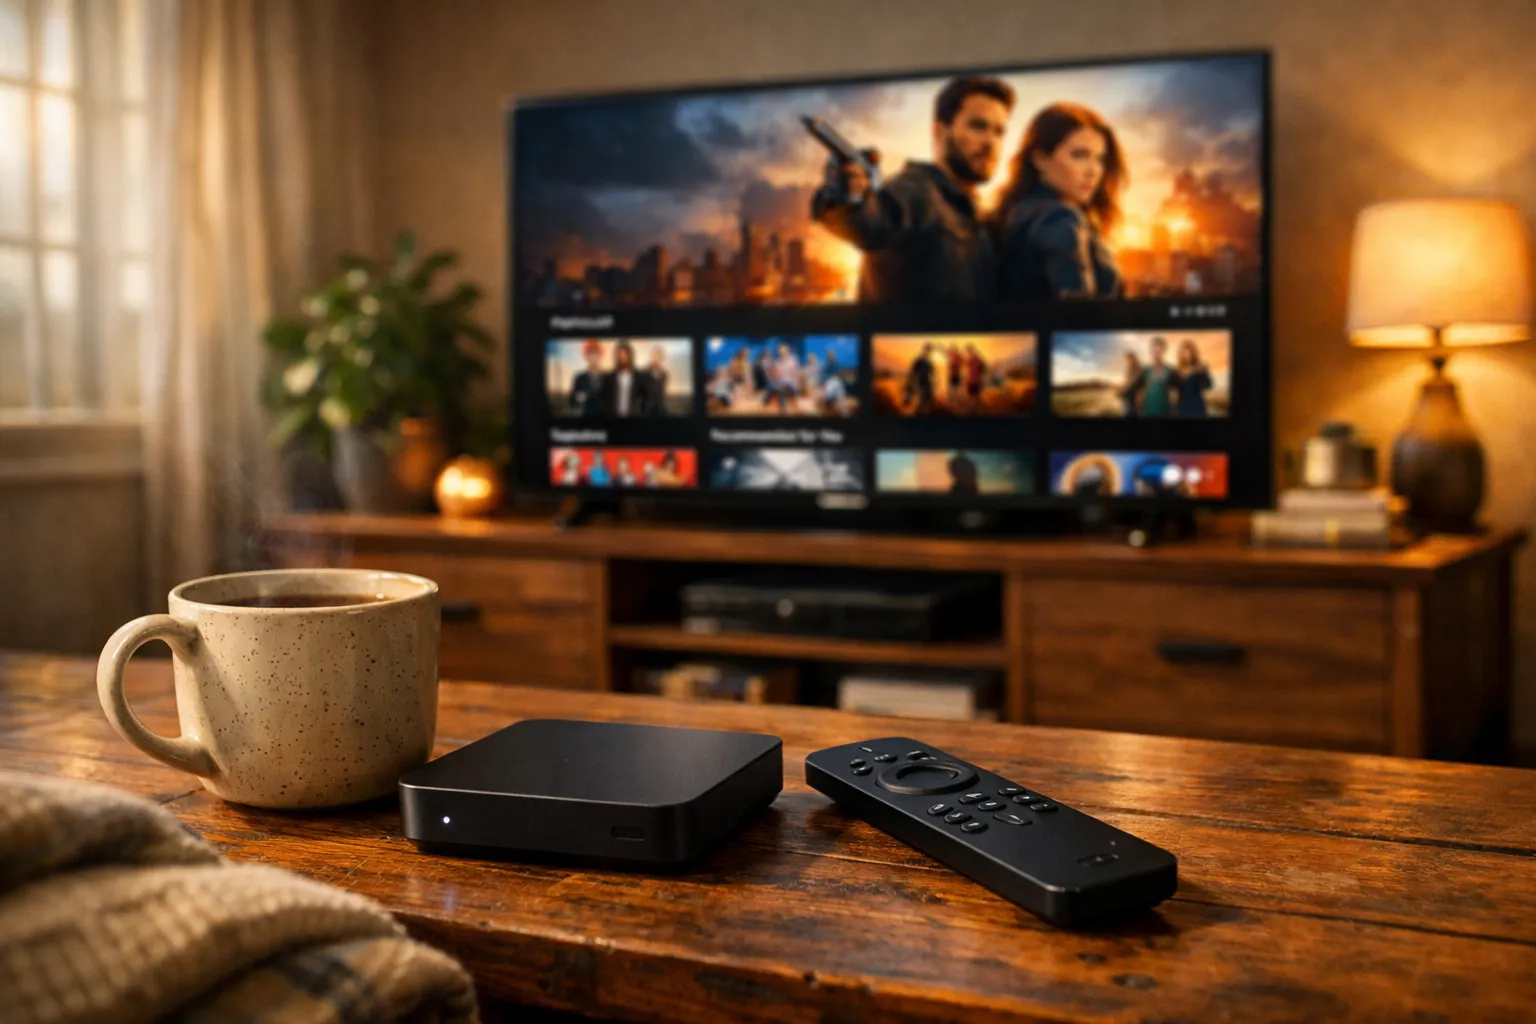
Unboxing and hardware checklist for your IPTV setup
Open the box, confirm essentials, and make a quick inventory.
Learn what accessories matter and what you can skip. Prepare a stable spot for the box and remote.
Start by confirming what came with the box: power supply, HDMI cable, remote, batteries, and any quick-start sheet. If your box is an Android-based device check for a microSD or USB port and note whether an Ethernet port is present.
In practice, list each item on your phone or a notepad and tick it off. The catch is power and HDMI cables are often generic; using a low-voltage or damaged cable will cause intermittent failures. Why it matters: defective or missing accessories are the simplest source of playback and boot problems.
- Power adapter and cable
- HDMI cable (preferably HDMI 2.0 or higher for 4K)
- Ethernet cable (Cat5e or Cat6)
- Remote and batteries
When you finish, connect the HDMI to your TV and the power but do not power on yet. That’s why the next steps start with networking checks, since a stable connection is the core dependency for streaming.
Choosing wired or wireless connection and why it matters
Decide between Ethernet and Wi-Fi based on reliability, location, and speed.
Understand when wired matters and when Wi-Fi is acceptable. Quick checks to confirm link quality.
If you can easily reach your router, choose a wired Ethernet connection. Wired is lower latency, less variable, and better for high bitrates like 1080p60 or 4K streams. Why it matters: IPTV performance often breaks down on congested Wi-Fi even when signal strength seems fine.
On the other hand, Wi-Fi is fine when a wired run is impractical. In practice, prefer 5 GHz bands and place the box near the router or a mesh node. The catch is distance, interference, and network load. If you must use wireless, test with a speed check app and confirm consistent throughput above the provider’s recommended bitrate.
Quick verification steps:
- For wired: confirm link LED on both router and box, run a speed test (target >20 Mbps for HD, >50 Mbps for 4K).
- For Wi-Fi: check signal strength, use 5 GHz where possible, avoid crowded channels, and test several times to check consistency.
If speeds or latency are poor, prioritize troubleshooting the local network before changing app settings.
Installing and granting permissions to IPTV apps
Install your IPTV app safely, grant only required permissions, and prefer official sources.
Learn which permissions matter and which can be declined. Check app versions for known bugs.
Most IPTV boxes run Android or a vendor OS with access to an app store. If you plan to use IPTV Smarters or another player, install from the official store when possible. Why it matters: unofficial APKs can be outdated or altered and may cause stability or security problems.
In practice, allow only the permissions the app needs, commonly Storage (to load local playlists), Network (for streaming), and optionally Location for regional EPG. The catch is some apps request broad permissions that are not required for standard playback; decline anything unrelated. After install, open the app and check the settings page for updates and codec options.
A short checklist:
- Use official store or vendor repository
- Grant Storage and Network only when necessary
- Check change log or version number
When you finish, open the app and confirm it loads without crashes. That’s the baseline for adding playlists or logins.
Adding an M3U or Xtream login to IPTV Smarters
Choose between M3U playlists and provider logins, enter credentials or URLs carefully, and test channel lists.
Learn simple validation steps if channels fail to load.
M3U is a text playlist format that lists stream URLs. An Xtream-style login uses server credentials to provide authenticated access to channels and EPG. Why it matters: M3U is straightforward but can be fragile if URLs change; Xtream offers dynamic listings and EPG mapping.
In practice, open IPTV Smarters and choose to add a playlist the app supports. For M3U, paste the full URL exactly, watch for missing https prefix, and test. For Xtream-style, enter server URL, username, and password as provided by your service. The catch is many services require specific base URLs and slash formats, so copy them precisely.
Verification steps:
- After adding, refresh the channel list and confirm count of channels matches the provider’s claim.
- Try opening a few channels across genres to confirm streams start and decode.
If channels fail, check for typos, expired credentials, or provider-side blocks. Also test the same links in a desktop player like VLC to separate app problems from stream availability.
Configuring EPG, channel groups and icons
Map your EPG source to channels, create groups for easier navigation, and add icons to speed browsing.
Learn how EPG matching works and what to do when guides mismatch.
An EPG is the electronic program guide that shows schedules and program titles. It can come from your provider or a third-party XMLTV file. Why it matters: a correct EPG helps you find what is airing and verifies the channel mapping is correct.
In practice, point IPTV Smarters or your app to the provider EPG if available, or import an EPG file and use the app’s mapping tool to align channels. The catch is names must match precisely or the guide will not attach. After import, group channels into favorites and categories so the remote navigation feels quicker.
Quick checks:
- Verify program times match your timezone
- Confirm icons appear next to channel entries
- Open the guide and select a listed program to ensure the app links to the correct channel
When mapping fails, renaming a channel entry to match the guide title often resolves the issue.
Selecting the best player and codec settings
Choose a player that supports hardware decode, pick codecs for your box, and balance quality vs stability.
Learn when to prefer hardware or software decoding.
Players can use hardware acceleration or software decoding. Hardware decode offloads work to the box GPU, reducing CPU load and improving battery and heat profiles. Why it matters: correct codec settings reduce stutter and dropped frames, especially for high-bitrate streams.
In practice, start with the app’s default player, then switch to a hardware-accelerated option if available. Look for options like HW+ or MediaCodec on Android boxes. The catch is some streams use unusual codecs where software decoding is more compatible. Test both and prefer the one with fewer dropped frames and faster startup.
A short checklist:
- Enable hardware decoding for H.264/H.265 when supported
- Lower buffer size if latency is more important than stability
- Try alternative players if the built-in player stalls
If you are unsure which codec is active, check logs or player stats to see decode type and frame drops.
RecommendedFor reliable IPTV service with stable streaming and broad device support, consider our trusted option or explore another reliable provider.
Testing resolution, audio tracks and subtitles
Verify the stream plays at the declared resolution, switch audio tracks and enable subtitles.
Confirm the TV and box negotiate the right modes and bitrates.
Resolution testing ensures you actually receive the advertised video quality. Audio tracks and subtitles often come as alternate streams or separate text tracks. Why it matters: mismatched resolution or incorrect audio selection will degrade experience even when the stream is technically playing.
In practice, pick a test channel that advertises HD or 4K, observe the resolution reported in the player stats, then switch audio to alternate tracks and enable subtitles. The catch is some TVs perform additional scaling; check the box output settings and TV display settings to confirm a proper handshake.
Verification steps:
- Confirm video resolution in player stats matches the expected stream
- Switch audio tracks to verify language or surround sound options
- Enable subtitle track and adjust font size if available
When issues appear, change the output resolution setting on the box and restart the app to force a fresh negotiation.
Verifying DRM, timeshift and VOD playback
Check protected content, confirm timeshift buffer behavior, and play VOD items.
Learn what DRM means for channel recording and playback limitations.
DRM is digital rights management that restricts how protected content can be played or recorded. Timeshift allows pausing live TV by buffering, and VOD is on-demand content. Why it matters: DRM may block recording or limit resolution; timeshift depends on local storage and app support.
In practice, try playing a provider VOD and a channel that the provider marks as DRM-protected. If the app or box supports DRM, playback should work but may limit quality. The catch is many third-party players cannot play DRM content and will show errors. Also test timeshift by pausing a live channel for several minutes then resuming to see if buffer persists.
Quick verification:
- Play a known VOD asset and check for HD playback
- Pause live TV and resume after several minutes
- Note any DRM-related errors and consult provider documentation
If DRM prevents playback, contact the provider or use the recommended authorized app.
Backup your playlist and setting export options
Export M3U or login details and save app settings.
Learn safe locations to store backups and how to re-import later. Keep credentials secure but accessible.
Backing up your playlist or exported settings saves time if you change boxes or install updates. Many apps let you export a local backup or save an M3U link externally. Why it matters: a reliable backup prevents reconfiguration headaches and preserves curated channel groups and EPG mappings.
In practice, use the app export function to save a config file to a USB drive or cloud storage. If you rely on a provider login, record the server URL, username, and password in a secure password manager rather than plain text. The catch is storing credentials in insecure places risks account compromise.
Steps to back up:
- Export playlist or settings to USB or cloud
- Save provider credentials in a password manager
- Keep a copy of any custom EPG or icon files
When you re-import, verify groupings and EPG mapping; small name mismatches may require re-mapping.
First time troubleshooting checklist
Common first-run failures and fast fixes, a concise sequence of checks, and how to isolate network vs app issues.
Simple actions to reduce downtime.
If channels fail to load, start with the basics: check network connectivity, verify credentials, and try another app. Why it matters: isolating the failure source saves time and avoids unnecessary resets.
In practice, follow a short sequence: reboot the box, test the network with a speed test, open the same stream in VLC, and confirm provider service status. The catch is provider blocks or expired subscriptions are common and not always obvious from the app UI.
Checklist:
- Reboot box and router
- Confirm Ethernet/Wi-Fi link and speed
- Test stream in another player or device
- Re-enter login details carefully
If problems persist, collect logs or screenshots before contacting the provider to speed support resolution.
Notes on firmware, app updates and safe sources
Keep firmware and apps up to date, prefer vendor updates, and avoid untrusted APKs.
Understand update rollbacks and how to check change logs before upgrading.
Firmware and app updates provide bug fixes, codec improvements, and security patches. Use official vendor updates when possible. Why it matters: unofficial firmware or modified apps can introduce instability or security risks.
In practice, check for system firmware and app updates from the box settings or official vendor site, and review release notes when available. The catch is some updates change behavior and may require reconfiguring settings, so keep a recent backup before upgrading. Also, only install APKs from trusted sources if you must sideload.
Safety tips:
- Prefer vendor or official store updates
- Backup settings before major updates
- Avoid unverified APK repositories
When an update causes issues, use the backup you created to restore settings or roll back to the previous app version if possible.